In this tutorial, I use Maestro to automate UI testing for Dream by WOMBO app.
Overview
Maestro
Maestro is open source, written by Kotlin
- Simple
- Support Android & iOS
- Works anywhere
Layout Inspector
-
With Android, with your application, you can use Layout Inspector on Android Studio
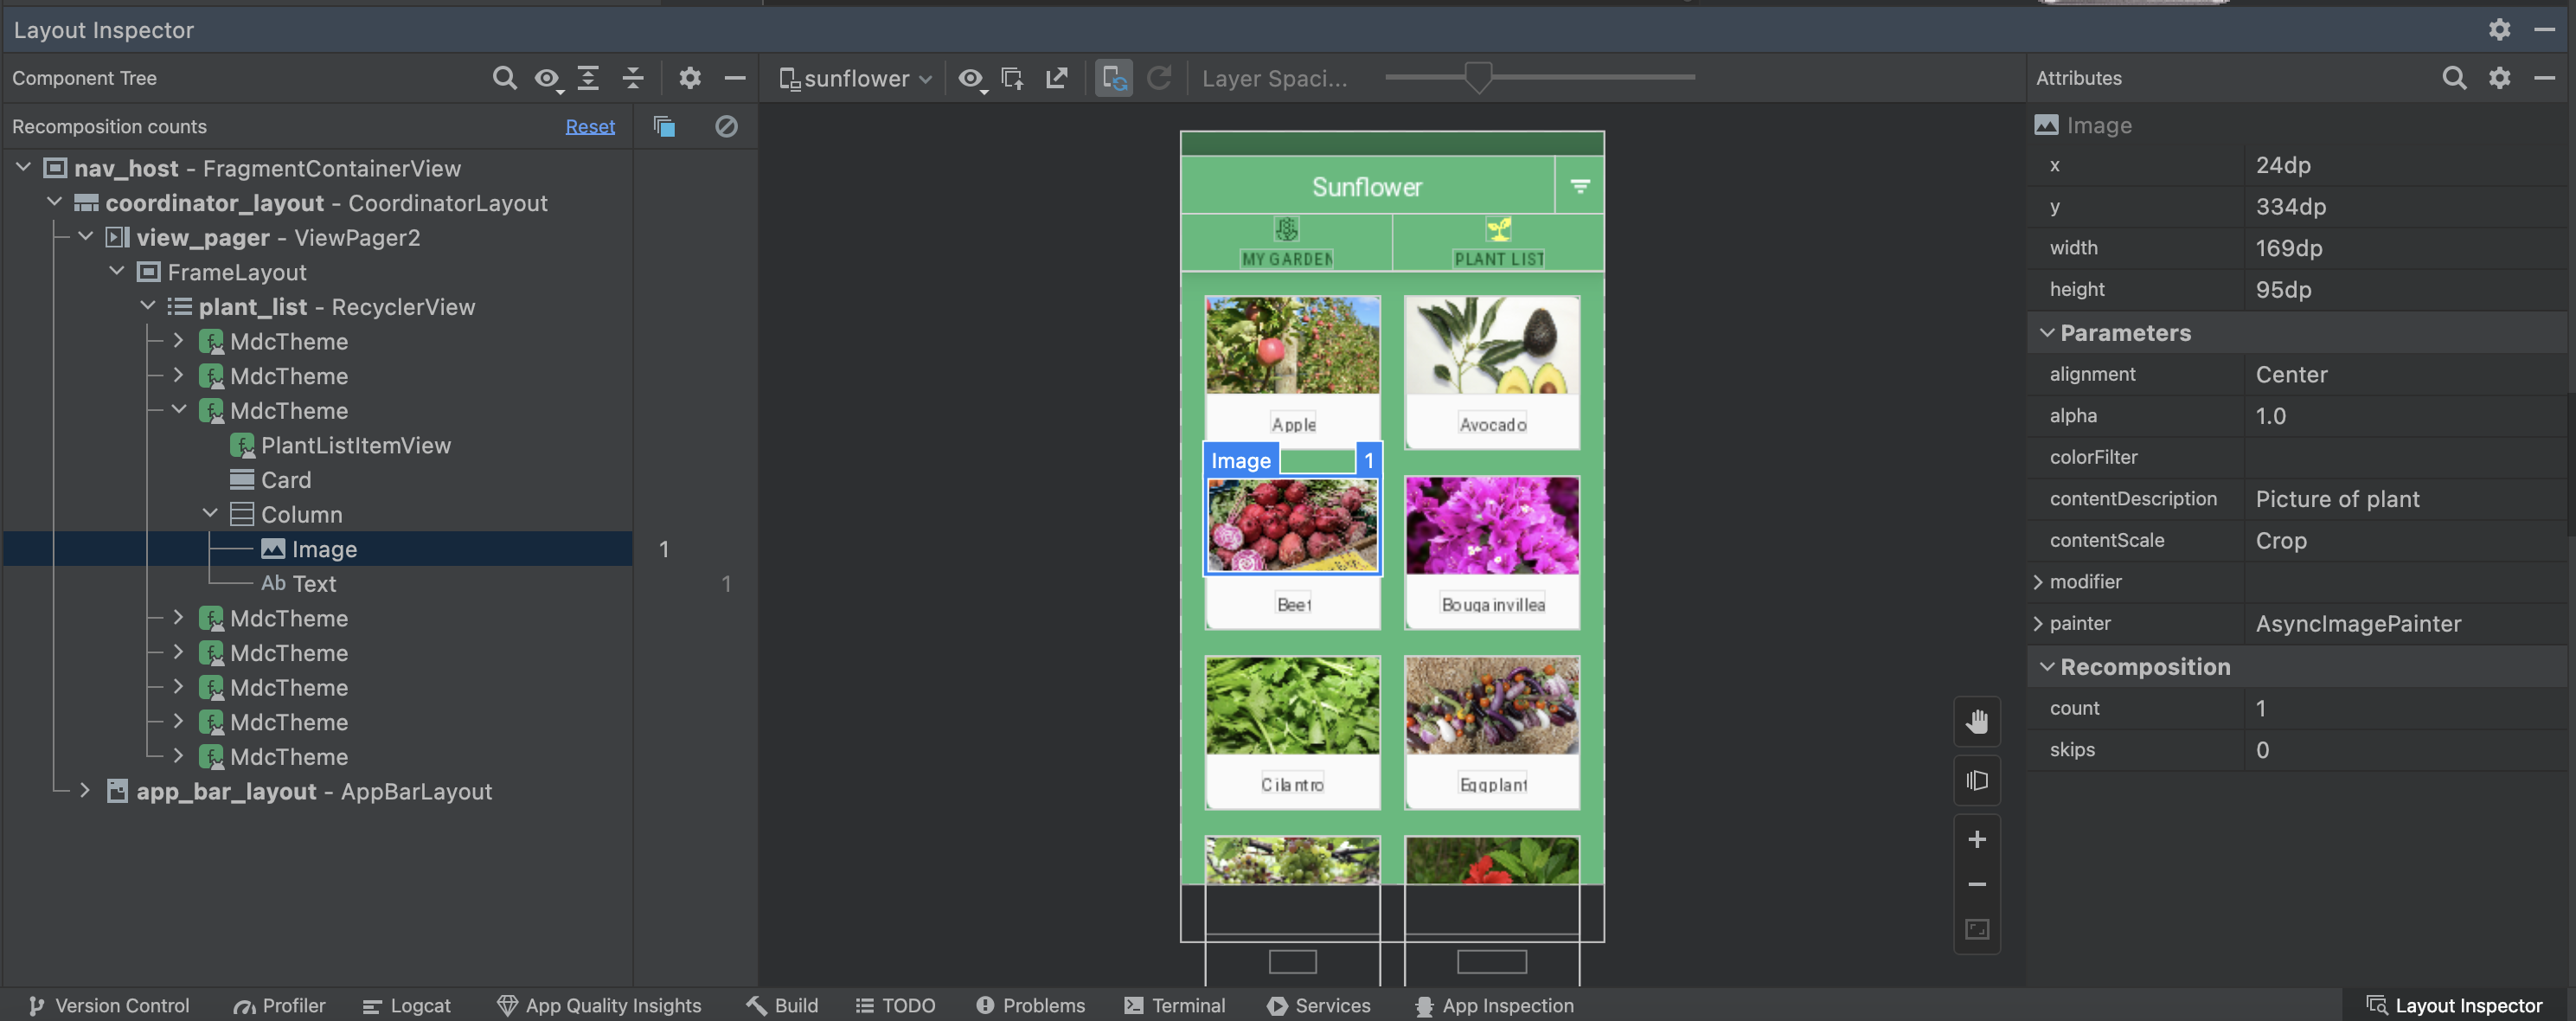
-
With iOS, you can LayoutInspector or Facebook idb
-
In this turorial, I use android-inspector. It is a productive UI layout inspector any Android app.
UI test
Setup
- Installed Maestro
- Installed android-inspector
- Installed Dream by WOMBO app on Goolge Play Store app on Emulator
- Opened app on Android emulator
Android Inspector
- Open
Android Inspectorapp
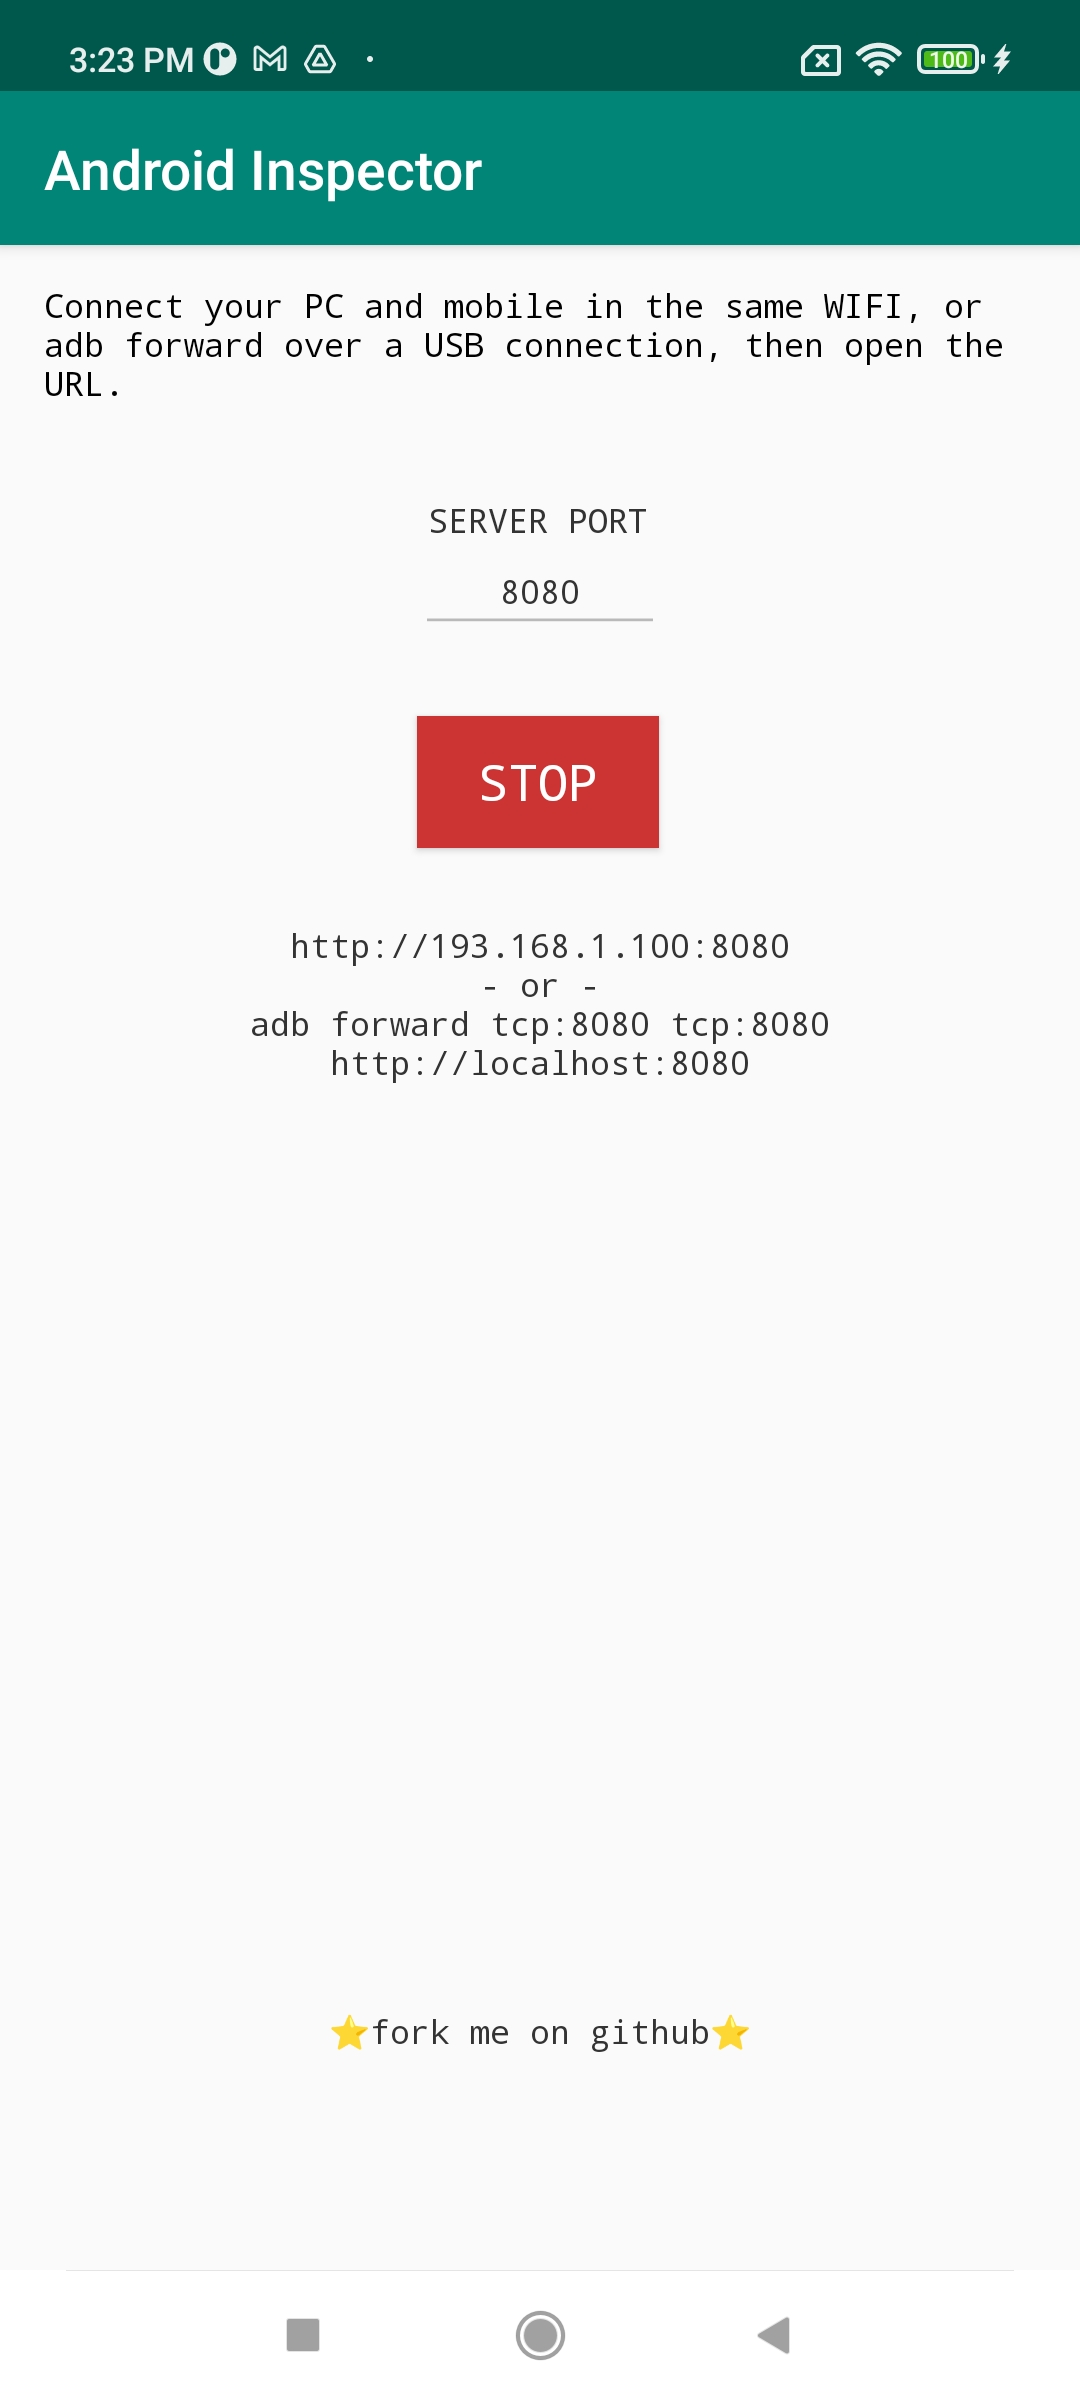
-
Access
http://193.168.1.100:8080/on Google Chrome -
Open app
Dream by WOMBO -
Inspector login screen
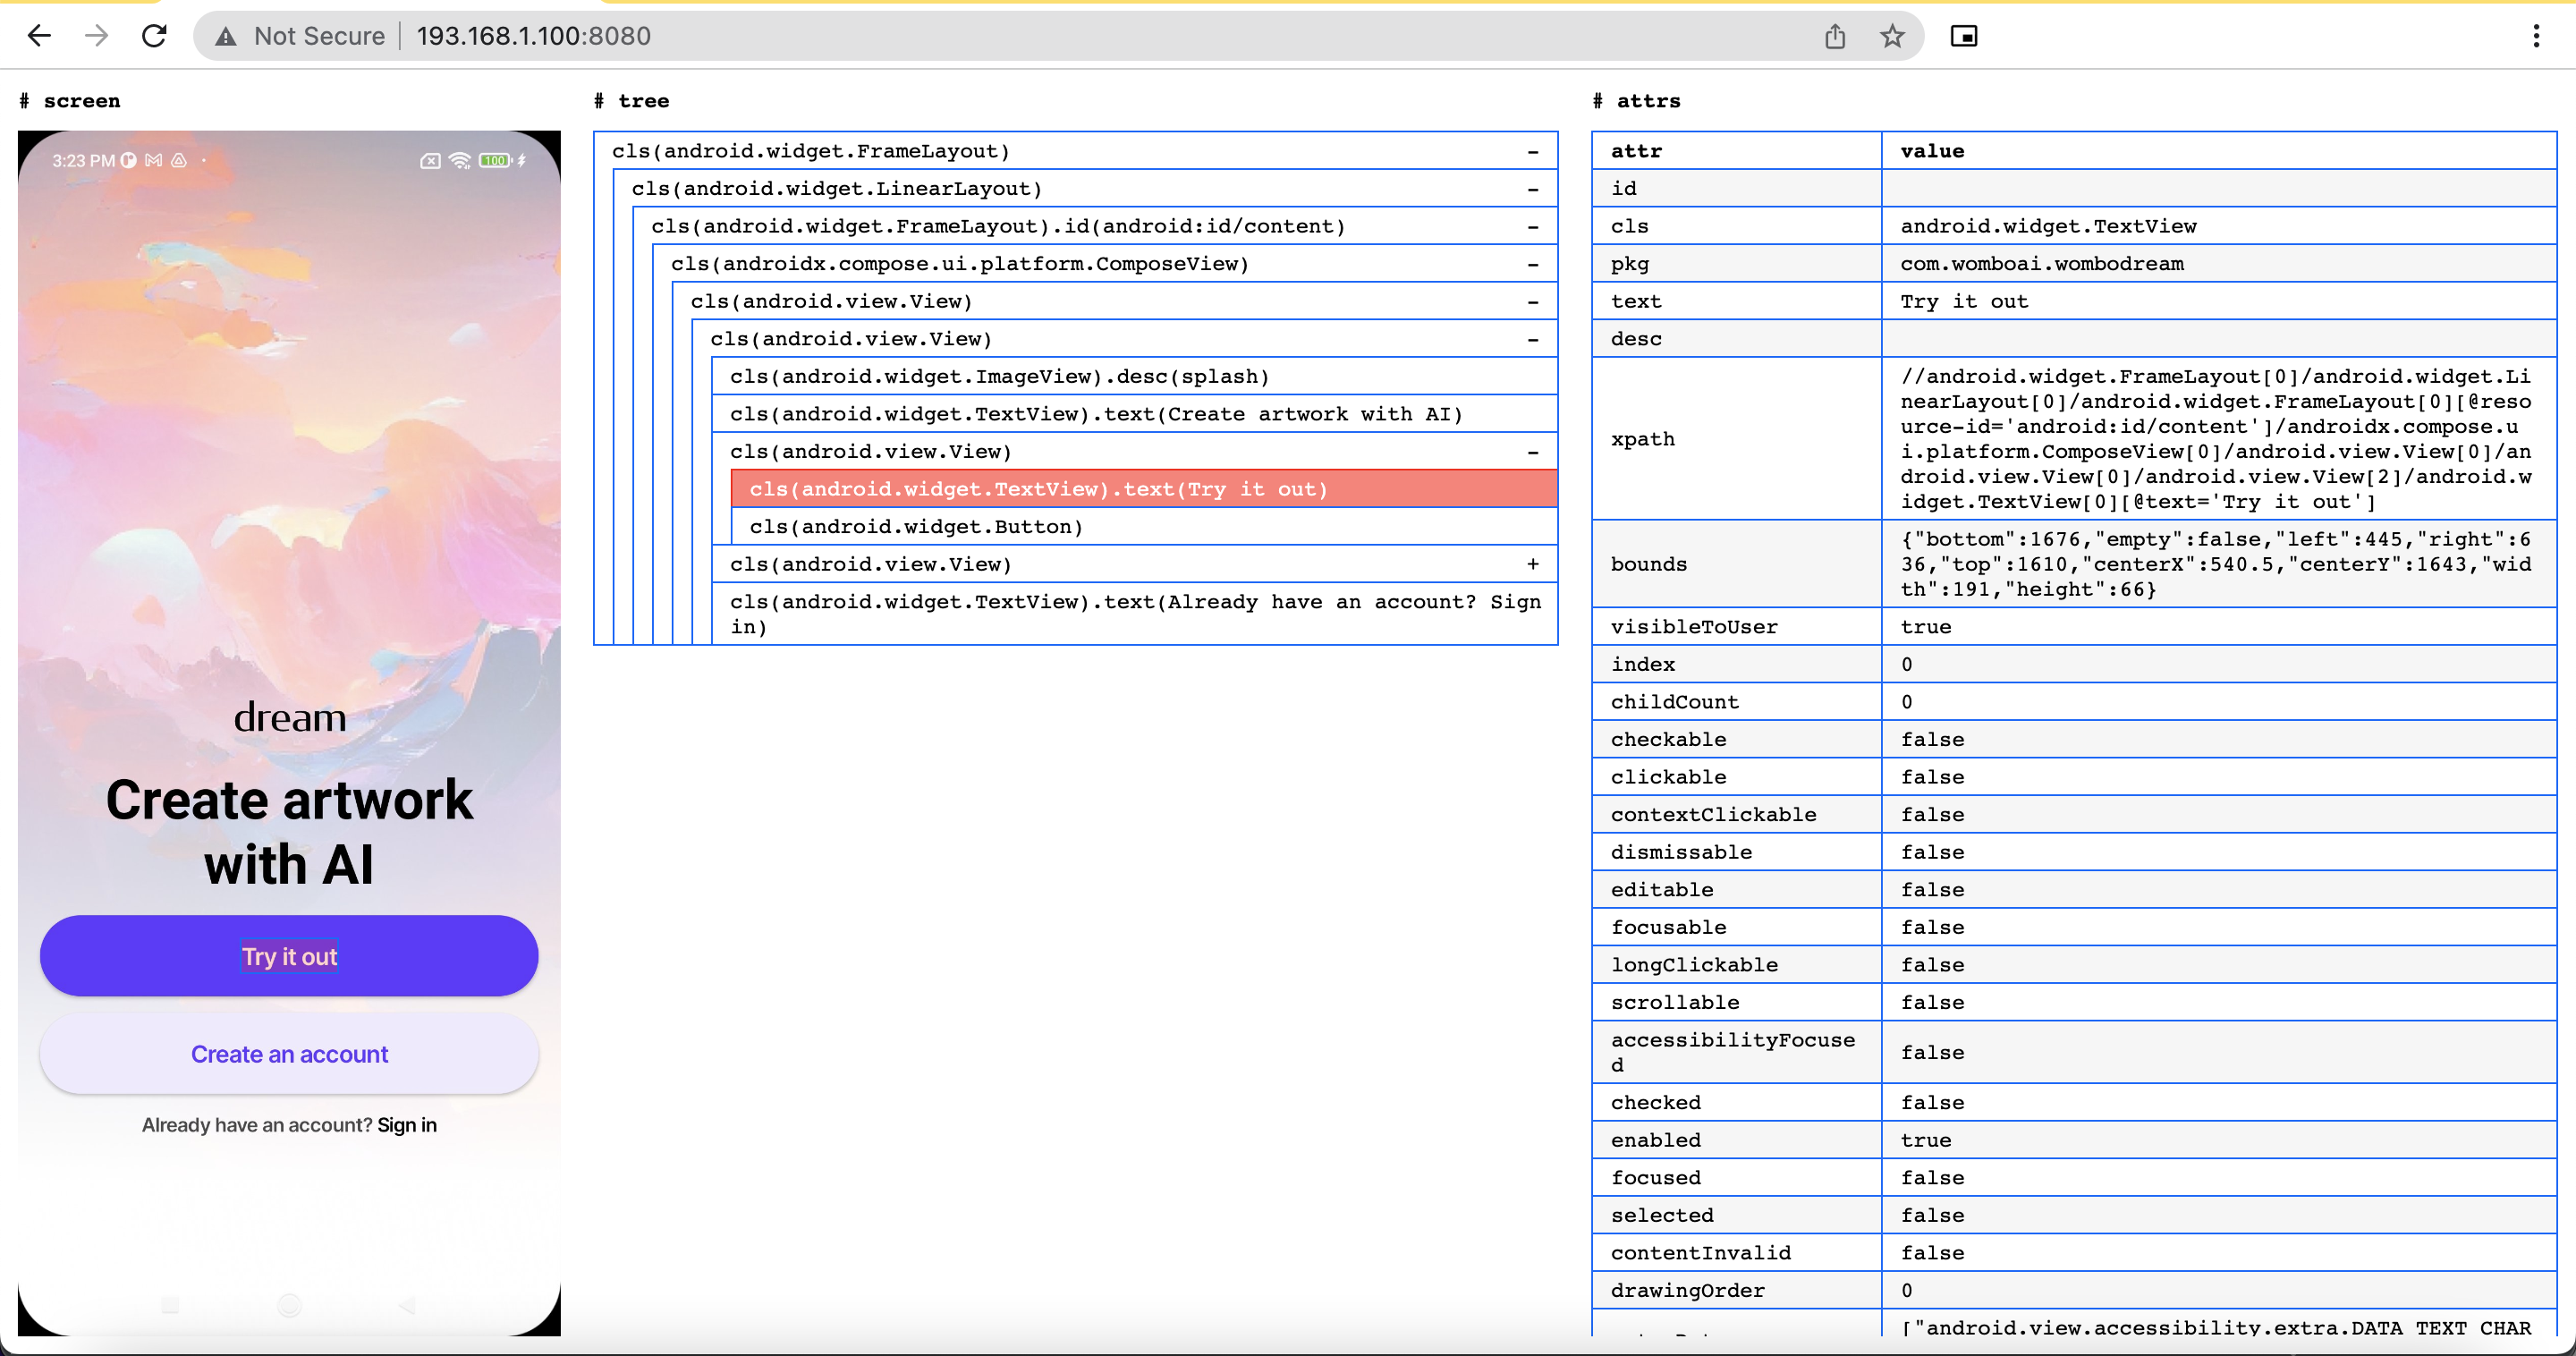
- Inspector main screen
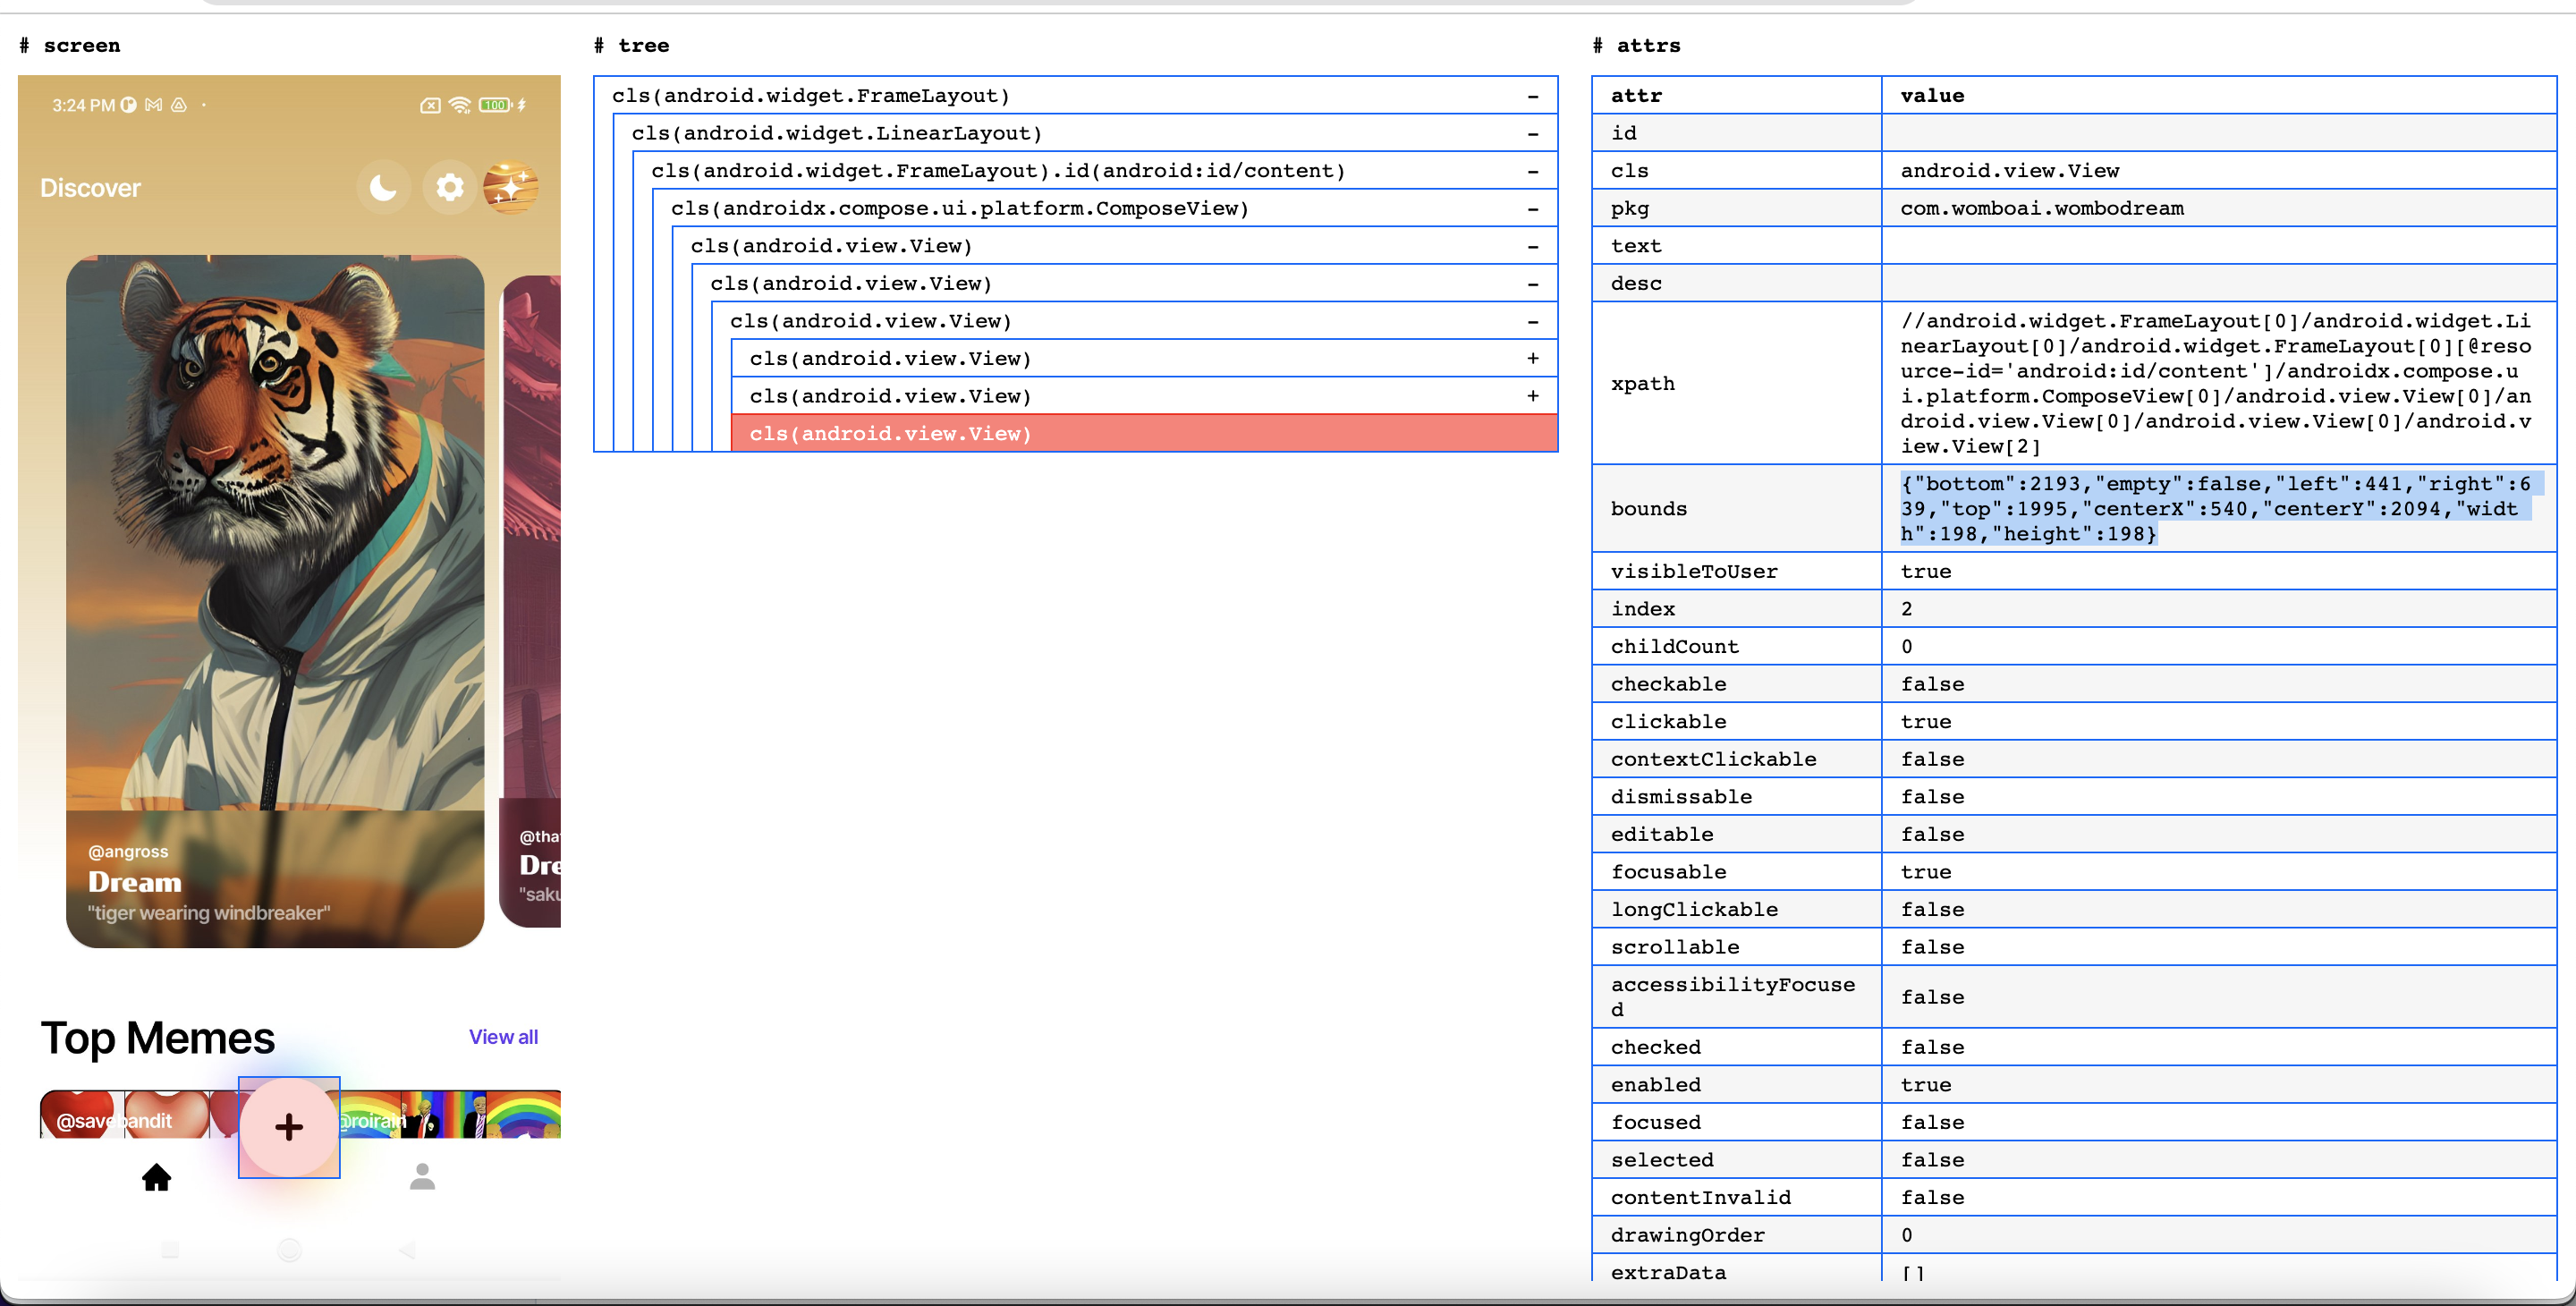
You can see button +, without ID or Text
- Inspector create art screen
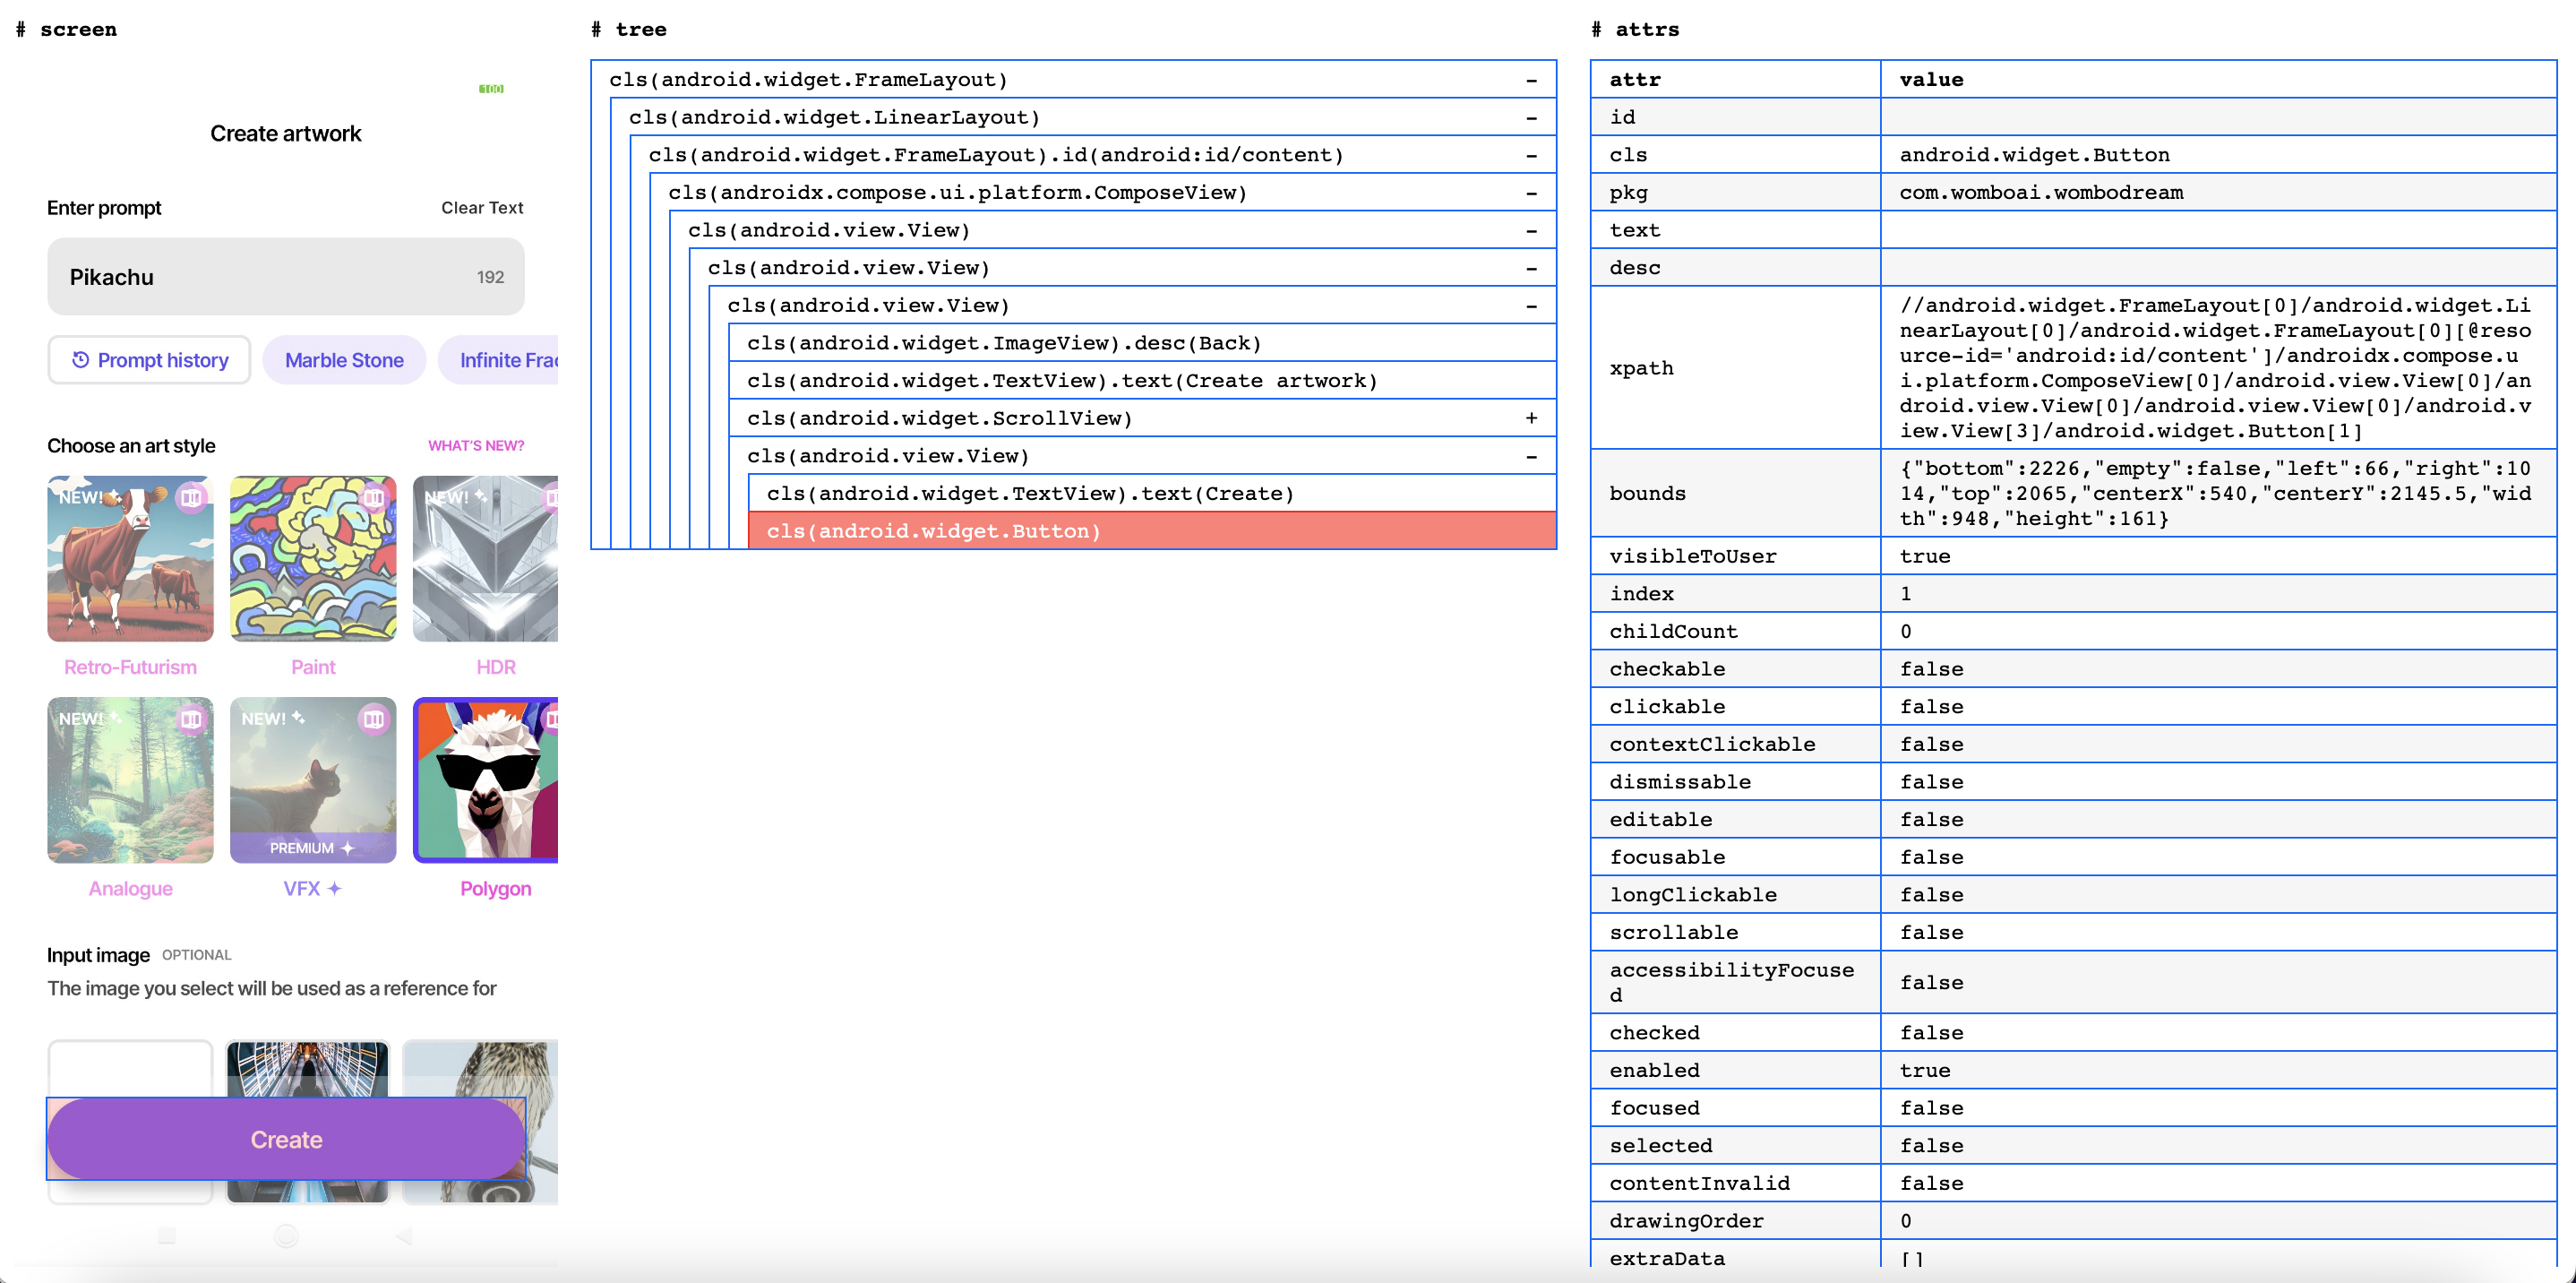
Test step
-
Step 1: Open app
-
Step 2: In login screen, click button
Try it out, change to main screen

- Step 3: In main screen, click button
+, change to create art screen

- Step 4: In create art screen, [1] click edit text
Type anything, [2] enter prompt:Pikachu, [3] choosenPaintstyle, [4] click buttonCreate, change to creating screen

and [5] validate text View all benefits
- Step 5: In creating screen, waiting to done, after 1 s, move result screen

- Step 6: In result screen, take screenshot

Excute
Run on terminal maestro test flow_wombodream.yaml
# maestro test flow_wombodream.yaml
appId: com.womboai.wombodream
---
# Step 1
- launchApp
# Step 2
- tapOn: "Try it out"
# Step 3
- tapOn: # press button create new
    width: 198
    height: 198
    tolerance: 10
# Step 4.1
- tapOn: "Type anything"
# Step 4.2
- inputText: "Pikachu"
# Step 4.3
- tapOn: "Paint"
# Step 4.4
- tapOn: "Create"
# Step 4.5
- assertVisible: "View all benefits"
# Step 5
- extendedWaitUntil:
    visible: Generate Again
    timeout: 10000
# Step 6
- takeScreenshot: CreateArtScreen
Pass variables to tests
I will change prompt and style by paramater and pass parameters to Maestro
Run on terminal maestro test -e PROMPT=dragon -e STYLE=Polygon flow_wombodream.yaml
# maestro test -e PROMPT=dragon -e STYLE=Polygon flow_wombodream.yaml
appId: com.womboai.wombodream
---
- launchApp
- tapOn: "Try it out"
- tapOn: # press button create new
    width: 198
    height: 198
    tolerance: 10
- tapOn: "Type anything"
- inputText: ${PROMPT}
- tapOn: ${STYLE}
- tapOn: "Create"
- assertVisible: "View all benefits"
- extendedWaitUntil:
    visible: Generate Again
    timeout: 10000
- takeScreenshot: CreateArtScreen
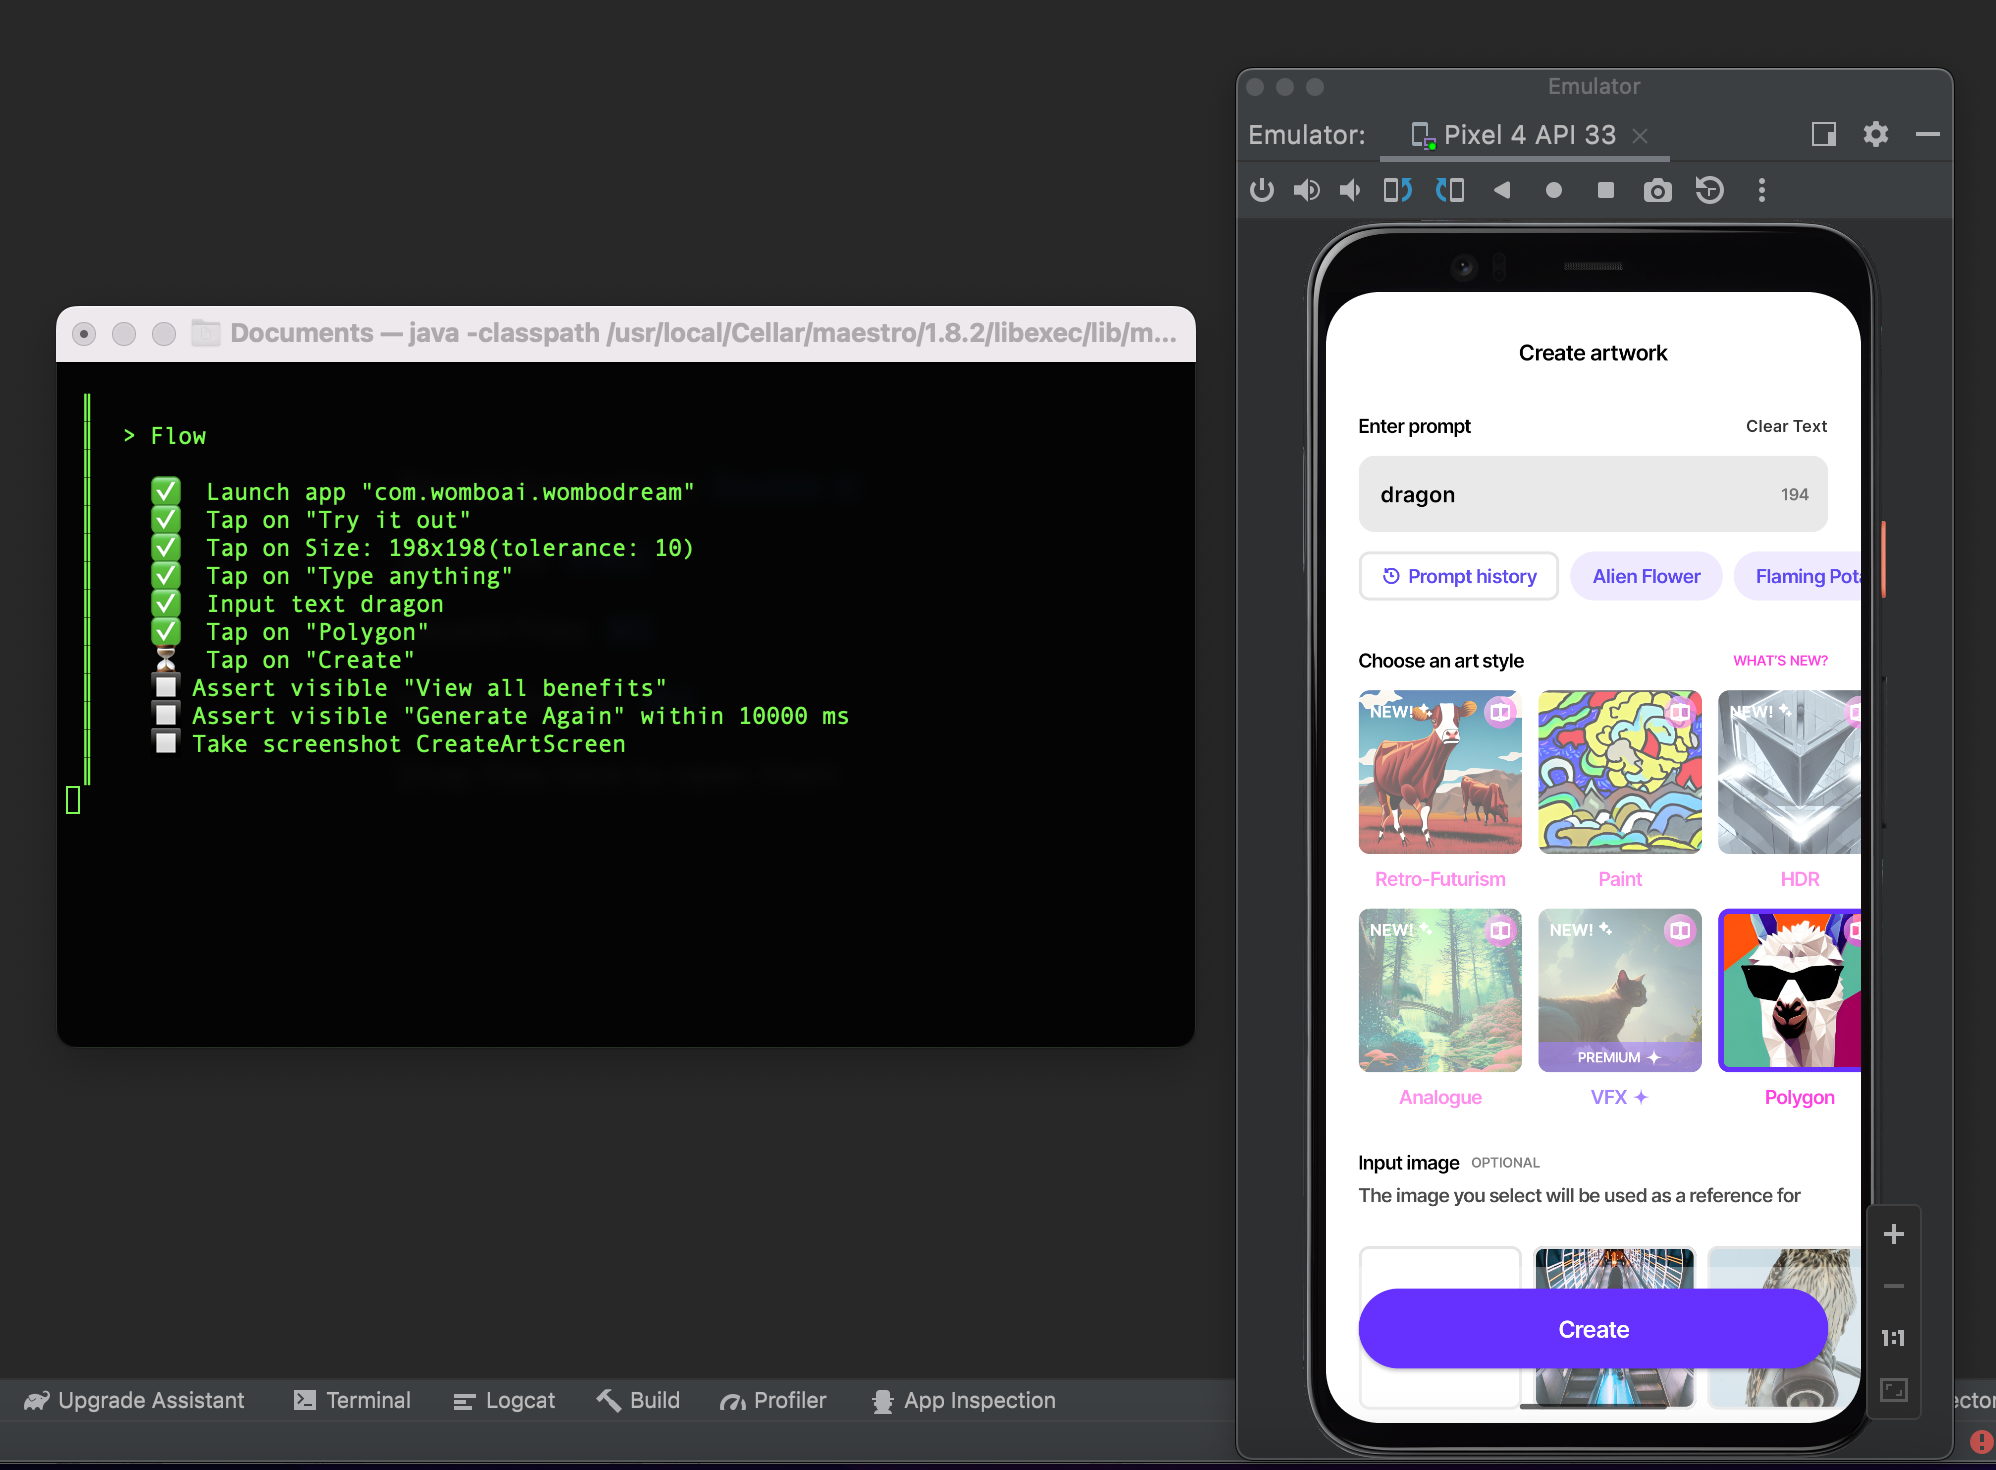
Test record

- Video test record (x4)
Test result
I got screenshot file CreateArtScreen.png
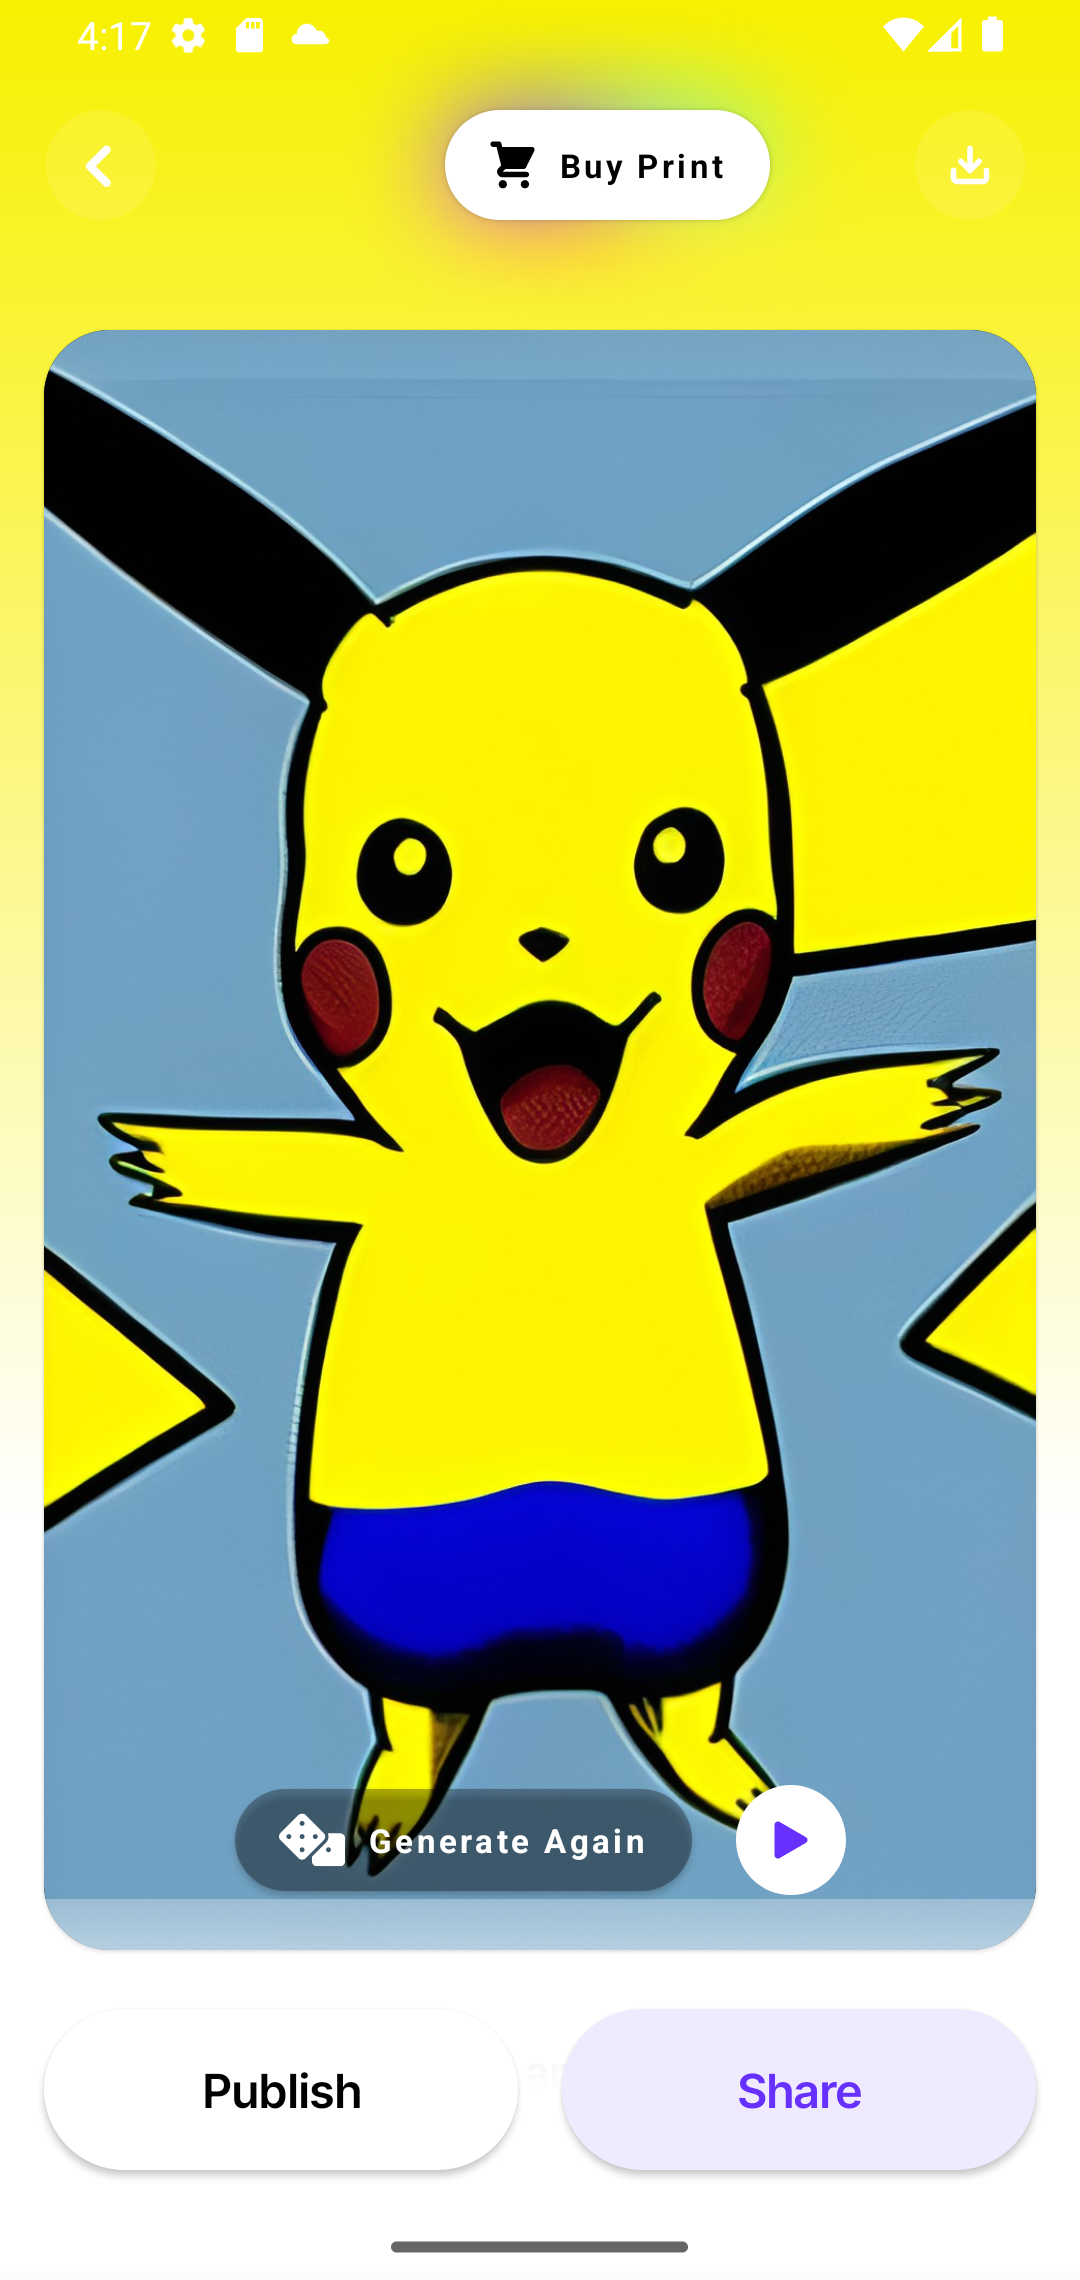
Note
Part 1, Use Maestro to automate UI testing for Dream by WOMBO app.
Part 2, Use Maestro to automate UI testing for Apple Contacts App.
Supported by DartJ